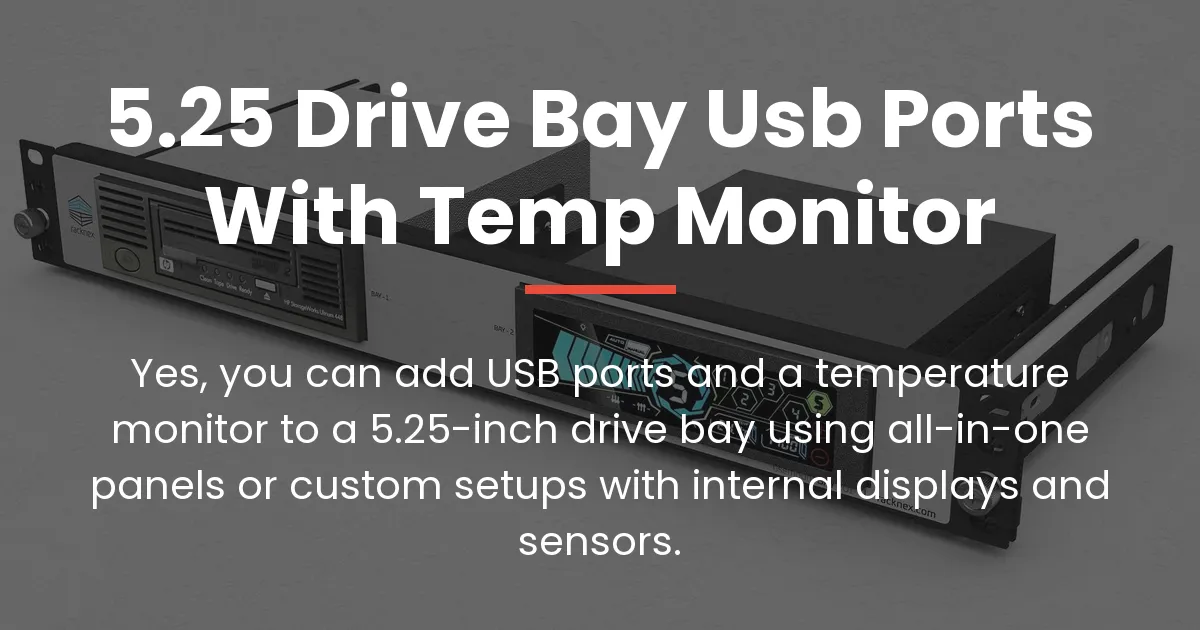
Adding 5.25 drive bay usb ports with temp monitor to your computer is a practical upgrade that combines convenience with real-time system insight. This guide explores every aspect, from product options to step-by-step installation, ensuring you can achieve this functionality whether you prefer a simple purchase or a custom project.
Available Solutions for 5.25 Drive Bay USB Ports with Temp Monitor
Your journey begins with understanding the two main routes available. Each path offers different levels of ease, cost, and personalization, so knowing them helps you match the solution to your skills and vision for your computer.
The first route is the integrated all-in-one panel, a single unit designed to slot into your drive bay. These products are less common but provide a neat, factory-like appearance with USB ports and a small display built together.
The second and more flexible route is the custom composite approach. This involves combining a standard 5.25-inch bay USB hub with a separate small display, like those made for Raspberry Pi, mounted inside the bay. This method is popular because it lets you choose exactly the features you want.
All-in-One Bay Panel Units
All-in-one panels are the closest thing to a plug-and-play solution. You simply purchase the unit, install it in your drive bay, and connect its cables. These panels typically feature several USB ports, often USB 3.0 for good speed, and an integrated LCD that shows temperature readings.
The temperature data usually comes from included sensor probes you attach to components or from a connection to your motherboard’s sensor headers. Brands like Matrix Orbital occasionally offer such panels, but availability can be spotty, and choices are limited compared to separate components.
The advantage is a clean, unified look with minimal assembly. The downside is that you are locked into the design and features of that specific product, which may not offer the display size or software control you desire.
The Custom Composite Approach
This is the method most enthusiasts choose because it puts you in full control. You start by selecting a 5.25-inch bay USB hub panel. These are widely available with various port types, including USB-C and fast-charging ports, to suit your needs.
Then, you add a small internal display. A common choice is a 5-inch IPS screen, like the Elecrow model for Raspberry Pi, known for good color and viewing angles. This display can be USB-driven, getting both power and data from one cable, or HDMI-driven for sharper image quality.
You mount the display behind the USB panel or beside it, using brackets or adhesive. The result is a tailored system monitor that can show not just temperature but also fan speeds, RAM usage, and more through software. It requires more hands-on work but delivers a personalized setup.
How a 5.25 Drive Bay USB and Monitor System Works
To successfully build this setup, you need to grasp how the pieces connect and communicate. This knowledge prevents frustration during installation and ensures your system runs smoothly once completed.
Display Types and Connections
Displays for this purpose fall into two categories based on how they receive their video signal. USB-driven displays are popular for system monitoring because they simplify cabling. They draw power and receive data through a single USB cable connected to an internal header on your motherboard.
These screens are often lower resolution, but perfectly adequate for showing text-based stats like temperatures. HDMI-driven displays offer higher resolution and better clarity, making them suitable for more detailed graphs or even miniature dashboards.
However, an HDMI screen requires a video signal from an internal HDMI output on your motherboard or graphics card. This can be a hurdle if your hardware lacks such an output, and routing the HDMI cable inside the case needs careful planning to avoid blocking airflow.
Sourcing the Temperature Data
This is the core challenge many guides overlook. Your display needs to get temperature readings from somewhere, and you have three primary ways to make that happen, each with distinct trade-offs.
Dedicated hardware sensors involve physical probes that you attach directly to components like your CPU heat sink or GPU backplate. These probes connect to the display unit or a separate controller, providing accurate, standalone readings that don’t depend on your computer’s software.
Motherboard sensor headers are another source. Many motherboards, like those in the Aorus Elite series, include a T_SENSOR or similar header meant for a thermal probe. Some displays can plug into this header to read the temperature directly from the motherboard’s circuitry.
Software-based solutions are the most versatile. Programs like AIDA64 or HWiNFO can read the temperature data from your system’s internal sensors—the same ones your BIOS uses. They then send this information to the display. This allows you to show a wide array of metrics on the screen, from CPU temperature to RAM usage, all customizable through the software.
Power and Internal Connectivity
Every component you add needs power and a way to talk to your system. The USB hub requires connection to an internal USB header on your motherboard. If it’s a USB 3.0 hub, it will need a USB 3.0 header for full speed, which your motherboard might have only one or two of.
The display also needs power. If it’s USB-driven, it might get power from the same header or from a separate connection. Many small displays and hubs draw power from SATA connectors from your power supply, as they provide stable 5V and 12V lines.
Internal USB header splitters become essential if you run out of headers. These small boards plug into one motherboard header and give you two or more, but be mindful not to exceed the power budget of the original header, which could cause devices to malfunction.
Choosing the Right Setup for Your Computer
Your decision hinges on your comfort with DIY projects and what you want from the final look. Here is a straightforward way to match your profile with the best approach.
If you value simplicity and a clean finish with little effort, seek out an all-in-one bay panel. This is ideal for beginners or those who dislike tinkering with software and cables. Just ensure the product has the USB ports you need and a display that sources temperature in a way compatible with your system.
For users who enjoy customization and have some technical skill, the composite method is superior. It allows you to pick a high-quality USB hub and a display with the exact size and features you prefer. You can even integrate tools like a fan controller if your bay has space.
Ask yourself key questions before buying. Do you have free internal USB headers? Does your motherboard have a temperature sensor header? Is your main goal quick convenience or a tailored monitoring station? Your answers will naturally point you to the right solution.
Installing a USB Hub and Display in Your 5.25 Bay
For the custom composite approach, which is the most common, follow this procedural guide. It walks you through from unboxing components to a fully working system monitor.
Tools and Components You Will Need
Gather everything beforehand to avoid interruptions. You will need a 5.25-inch bay USB hub panel, a small internal display like a 5-inch IPS screen, and the necessary cables. These include internal USB cables, power cables like SATA or Molex adapters, and possibly HDMI cables if your display uses them.
For mounting, have screws, brackets, or strong double-sided tape ready. Basic tools like a screwdriver, cable ties, and a drill may be needed if modifications are required, though many setups can be done without permanent changes to your case.
Mounting the Physical Components
Begin by clearing the 5.25-inch drive bay in your case. Remove any existing optical drive or blank cover. Install the USB hub panel first, usually by sliding it into the bay and securing it with the screws provided, which fasten into the side holes of the bay.
Now, position your display. If the USB panel has a mesh or grille area, you can mount the display behind it so the screen is visible. Use a bracket that attaches to the bay’s frame or the back of the USB panel to hold the display securely.
For a non-permanent mount, adhesive Velcro strips or foam tape can attach the display to the back of the USB panel or the bay’s interior wall. Ensure the display is firmly placed and that its viewing angle is correct before finalizing.
Routing Cables and Managing Power
This step is crucial for a clean and functional build. Connect the USB hub to an available internal USB header on your motherboard. Route the cable along the edge of the case, using cable ties to keep it neat and away from fans like the top case fans.
Connect the display. If it is USB-driven, plug its USB cable into another internal header or into a port on the USB hub itself, though powering it from the hub may affect performance if both devices draw a lot of current. If it is HDMI-driven, connect an HDMI cable from the display to an internal video card output or motherboard HDMI port.
For power, both the hub and display likely need SATA power connectors from your power supply. Plug these in, and use adapters if necessary. Gather all excess cable length and secure it behind the motherboard tray or in an unused hard drive bay to maintain clear airflow paths.
Configuring the Software and Display
Power on your computer. If using hardware sensors, follow the probe instructions to get readings. For software like AIDA64, install the program and access its sensor panel feature. Here, you can design a layout that displays temperature, fan speed, and other metrics, then set it to output to your secondary display.
You may need to install specific drivers for your USB-driven display so the operating system recognizes it. Once done, adjust the display orientation in your system settings if the screen is mounted vertically, so the image appears correctly. Finally, set the monitoring software to launch when Windows starts for always-on monitoring.
Frequently Asked Questions
Can I use a 3.5-inch bay instead of a 5.25 drive bay for this?
Yes, you can use a 3.5-inch bay, but space is more limited. Look for a 3.5-inch bay panel with USB ports and a very small display, or be prepared for more creative mounting solutions to fit everything.
Will this work with any CPU case?
It will work with any CPU case that has a 5.25-inch drive bay. Modern cases with glass side panels sometimes omit these bays for aesthetics, so check your case specs first.
Do I need a free PCIe slot for this setup?
No, this setup does not require a PCIe slot. Components connect via internal USB headers and power cables, not through expansion slots.
Can the display show metrics other than temperature, like RAM usage or fan speed?
Absolutely. With software like AIDA64, you can configure the display to show CPU temperature, RAM usage, fan speeds, storage activity, and many other system metrics in real time.
Are there wireless or Bluetooth alternatives to internal USB connections?
Wireless internal solutions are extremely rare due to the need for reliable power and signal inside a metal case. Wired connections are standard for their stability and simplicity.
How do I secure a small display inside the bay without permanent modification?
Use non-permanent mounting solutions like heavy-duty double-sided tape, Velcro, or removable brackets that screw into existing bay holes. These methods hold the display firmly without drilling into your case.
What if my motherboard doesn’t have enough internal USB headers?
You can add an internal USB hub that plugs into one motherboard header and provides multiple ports. These hubs are powered by a SATA connector from your power supply, solving the header shortage.
Can I control case fans from a 5.25 drive bay panel?
Yes, some bay panels include fan controllers with knobs or touch controls. These connect to your fans and allow manual speed adjustment, often with temperature-based automation.
Is it possible to have an HDMI input on this type of display?
Many small displays have an HDMI input, but for internal use, you must have an internal HDMI output from your motherboard or GPU to connect it, which not all systems provide.
How do I orient or rotate the display image if my screen is mounted vertically?
You can rotate the image through your operating system’s display settings. In Windows, right-click the desktop, choose Display Settings, and select Portrait or Landscape orientation to match your screen’s physical placement.
Conclusion
Creating a system with 5.25 drive bay usb ports with temp monitor is a rewarding project that adds both utility and a custom touch to your computer. By understanding the solutions available and following a clear installation process, you can overcome common hurdles like data sourcing and cable management.
Whether you choose a pre-built panel for simplicity or embark on a custom build for full control, the result is a functional enhancement that keeps your system’s vital stats at your fingertips. Use this guide to make informed choices and enjoy building a setup that perfectly fits your needs.