Is your mouse moving the wrong way between screens? Does your login screen appear on the wrong monitor? You need to learn how to swap monitor 1 and 2. The quick answer is you drag the screens in Windows settings. But to make it stick, you need to know why it happens. This guide will show you the simple fix, explain the cause, and give you a permanent solution.
Swapping Monitors in Windows Display Settings
This is the standard method. It works for most people right away. You change the logical order of your screens here.
Step-by-Step Instructions
First, right-click on any empty space on your desktop. A menu will pop up. From this menu, select “Display settings”. This opens the main control panel for your screens.
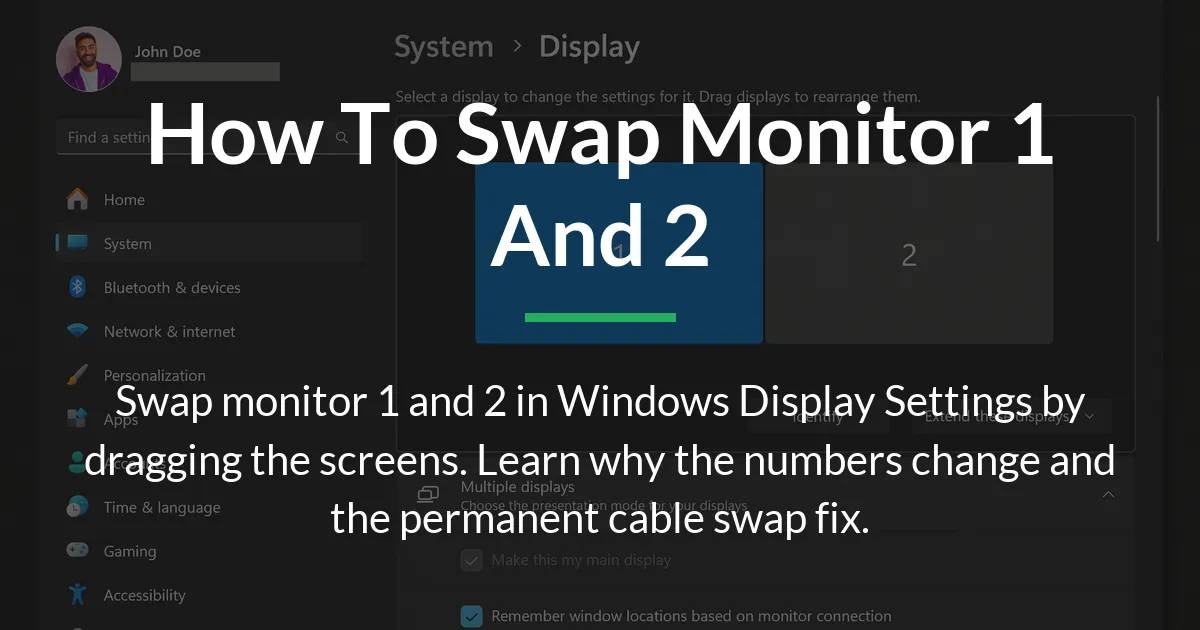
You will see a diagram at the top of the page. It shows boxes labeled “1” and “2” representing your monitors. To swap monitor 1 and 2, you simply click and drag these boxes.
Drag the box for monitor 2 to the left side of monitor 1. Or drag monitor 1 to the right of monitor 2. Move them so their positions on the screen match their physical positions on your desk. Release the mouse button to set the new order.
Finally, click the “Apply” button to save your changes. Your screens may flicker briefly. Now move your mouse to the edge of your desktop. It should move between your physical monitors in the correct direction.
What This Action Actually Changes
Dragging the monitors changes their logical order. It tells Windows how you have placed them on your desk. This controls where your mouse moves when it reaches the screen’s edge.
It also decides where most new application windows will open by default. Your taskbar can extend across them in the correct order. This action does not rename the monitors at a deep system level. Windows still knows them by their original numbers from boot.
This is also where you set the primary display. The primary display is your main screen. It has the taskbar and is where most full-screen apps like games will launch. Look for the checkbox that says “Make this my main display”. Select the monitor you want and check this box.
Remember, your primary display and monitor 1 are different settings. You can have monitor 2 as your primary display. The number is about order. The primary setting is about function.
Why Monitor Numbers Exist and Change
You might swap them in settings, only to find the numbers have switched back later. This is frustrating. To fix it for good, you must know why Windows assigns these numbers.
The Role of Your Graphics Card and Ports
Windows does not decide the numbers randomly. Your graphics card decides. When your computer turns on, the graphics card checks its ports. It assigns numbers to each connected monitor in a specific order.
This order is often set by the card’s maker. It might check the DisplayPorts first, then the HDMI ports. Or it might go from left to right on the card. The first monitor found becomes monitor 1. The second becomes monitor 2.
This process happens before Windows even starts. It is a hardware-level assignment. The numbers you see in Windows settings simply reflect what your graphics card has already decided.
Why Your Swap Might Not Be Permanent
When you drag monitors in Windows settings, you are only changing a software preference. You are telling Windows, “Please treat the monitor on port B as if it were on the left.”
Your graphics card does not get this memo. The next time you reboot or update your graphics driver, the card checks its ports again. It sends the same old numbers to Windows. Windows then resets your arrangement based on the card’s order.
This is why your careful swap seems to undo itself. The software setting is overruled by the hardware’s boot-up message. To make a permanent change, you must address the hardware order.
Making Your Monitor Swap Permanent
If you are tired of resetting your monitor order, you have two strong options. You can change the hardware order itself. Or you can use more powerful software to manage it.
The Physical Cable Swap Method
This is the only way to permanently change which monitor is number 1 from the moment you power on. It changes the source of the problem.
First, shut down your computer completely. Do not just put it to sleep. Turn off your monitors as well. This keeps everything safe.
Look at the back of your computer. Find the cables going from your monitors to the graphics card ports. Carefully unplug the cable for your left monitor and the cable for your right monitor.
Now, plug the cable from your left physical monitor into the port where the right monitor’s cable was. Plug the cable from your right physical monitor into the other port. You have swapped the cables on the GPU.
Turn your computer and monitors back on. Windows will now detect the monitor on the “first” port as monitor 1. Since this matches your physical left monitor, the order should be correct. Your BIOS and login screens will also appear on the correct monitor now.
Using GPU Software for Robust Control
Your graphics card’s own software gives you more control than Windows. It acts as a stronger middleman between the hardware and Windows.
For NVIDIA cards, right-click your desktop and open “NVIDIA Control Panel”. Go to “Display” and then “Set up multiple displays”. You will see a similar arrangement window. Dragging displays here can sometimes create a more persistent setting.
For AMD cards, open “AMD Software: Adrenalin Edition”. Navigate to the “Display” tab. You can arrange your screens in this interface as well.
This software can handle detection better. If Windows is confused, setting up your monitors here first can help. It does not always beat the hardware port order, but it is a more authoritative software layer. Always set your arrangement in both your GPU software and Windows for the best results.
Fixing Problems and Stuck Monitor Numbers
Sometimes, the simple drag-and-drop does not work. A monitor might be missing, or you cannot click the right screen. Follow these steps in order to solve the problem.
Troubleshooting Steps in Order
Do not jump to extreme fixes first. Start simple. On the Windows Display settings page, find and click the “Detect” button. This forces Windows to look for connected monitors again.
If a monitor is still missing, check its power and cable. Try a different cable or port on your graphics card if you can. A faulty cable is a common issue.
The next step is to update your graphics driver. Go to Device Manager, find your display adapter, right-click it, and select “Update driver”. Or download the latest driver from NVIDIA, AMD, or Intel’s website. An old driver can cause detection problems.
If the monitors show but are stuck, try using your GPU’s control panel as mentioned earlier. This software can often take control when Windows settings fail.
As a last resort, use the physical cable swap method. This directly solves problems caused by the port enumeration order. It fixes issues where the BIOS screen appears on the wrong monitor.
Solving Common Display Detection Issues
A monitor might be detected but show as “Disconnected” or not light up. First, press the Windows key + P. This opens the projection menu. Make sure “Extend these displays” is selected. Sometimes it switches to “Second screen only” by accident.
If the “Extend these displays” option is grayed out, it means Windows does not see a usable second monitor. This points to a cable, port, or driver problem. Focus on checking connections and updating drivers.
For laptops with a second monitor, there may be a function key (like F4 or F5) to enable the external port. Press the Fn key and the corresponding function key together.
Using different port types like HDMI and DisplayPort is fine. The graphics card handles them. But if you use an adapter, try a different one. Some adapters can cause detection issues.
How to Swap Monitor 1 and 2 on a Mac
The process is similar but happens in a different place. Click the Apple logo in the top-left corner of your screen. Select “System Settings” from the menu.
In the sidebar, click on “Displays”. You will see a blue “Arrangement” button at the top; click it. Now you will see a diagram of your screens.
To swap the monitor numbers, simply click and drag the white menu bar from one screen to the other in the diagram. This bar shows which screen has the menu bar. Dragging it swaps their roles.
You can also drag the screen boxes themselves to match your physical setup. The settings save automatically. MacOS does not use persistent numbers like Windows. It focuses on which screen is primary.
Frequently Asked Questions
Can I swap monitor 1 and 2 using a keyboard shortcut?
There is no direct keyboard shortcut to swap monitor order. However, pressing the Windows key + P lets you quickly cycle between display modes like “Duplicate” or “Second screen only”. To actually rearrange them, you must use Windows Display Settings.
Will swapping HDMI cables damage my computer or monitor?
No, swapping cables will not cause damage if you do it safely. Always turn off your computer and monitors before unplugging or plugging in any cables. This prevents any electrical issues and allows the hardware to detect the new setup correctly when powered on.
Why do my monitor numbers keep changing back after I swap them in settings?
This happens because the monitor numbers are assigned by your graphics card when your PC boots. The Windows setting is just a software rule. After a driver update or sometimes a reboot, the graphics card reports its port order again, overriding the Windows arrangement. The permanent fix is to swap the physical cables on the GPU.
Does it matter if I use HDMI, DisplayPort, or other port types?
The type of port (HDMI, DisplayPort, DVI) does not change the process of swapping monitors. However, the specific physical port you plug into on your graphics card matters a great deal. The card’s internal port order determines the initial monitor number, regardless of the cable type.
My BIOS or login screen shows up on the wrong monitor. How do I fix that?
The BIOS and login screen use the graphics card’s native port order. Windows settings do not control this. To fix it, you must change which monitor is connected to the “first” graphics card port. This means using the physical cable swap method outlined in the guide.
Is “Monitor 1” always the primary display?
No, monitor 1 and the primary display are two separate settings. Monitor 1 is about position order. The primary display is the main functional screen. You can set monitor 2 as your primary display in Windows Display Settings by selecting it and checking “Make this my main display”.
How do I swap monitor 1 and 2 on a Mac?
Go to System Settings > Displays. Click the “Arrangement” button. Drag the white menu bar from one screen to the other in the diagram. You can also drag the screen boxes to match their physical positions on your desk.
What if the “Extend these displays” option is grayed out?
If this option is grayed out, Windows does not detect a usable second monitor. Check that the monitor is powered on and the cable is securely connected at both ends. Try a different cable or port. Then, update your graphics driver from the manufacturer’s website, as an outdated driver is a common cause.
Can I set different wallpapers after swapping my monitors?
Yes. After you arrange your monitors, you can set different wallpapers. Right-click your desktop, choose “Personalize”, then “Background”. Right-click on any image and select which monitor you want it for. Your new monitor order will be reflected here.
Do I need to install special software to swap monitors?
No special software is needed for basic swapping. Windows Display Settings has all the necessary tools. For more persistent control, using your existing graphics card software (NVIDIA Control Panel or AMD Software) is recommended, but this is not third-party software; it comes with your drivers.
Learning how to swap monitor 1 and 2 gives you full control over your workspace. The simple drag in Windows settings fixes the layout for daily use. Understanding that the numbers come from your graphics card ports explains why the problem happens. For a fix that lasts through reboots and updates, the physical cable swap is the key. Now you can arrange your screens perfectly and make sure it stays that way.