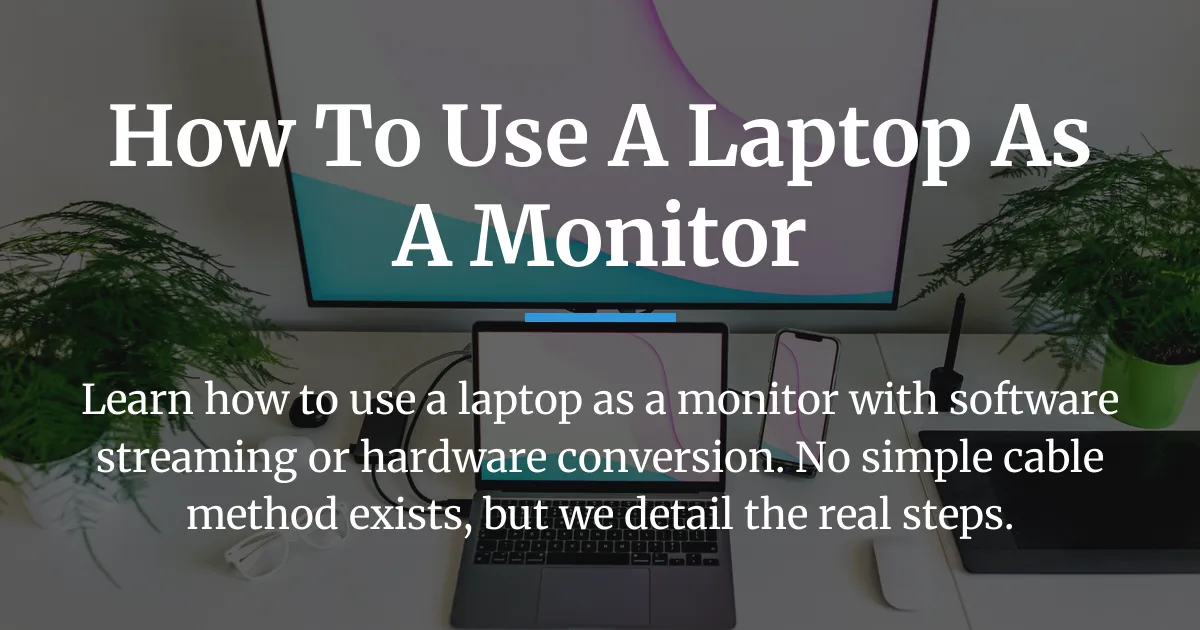
Many people search for how to use a laptop as a monitor expecting a quick cable fix. The direct answer is that you cannot simply connect another device to your laptop’s screen with a normal cable. This guide explains the real reasons behind this limitation and then walks you through the two actual methods that work: software-based screen sharing and a permanent hardware conversion project.
Why a Cable Usually Fails for This Task
Understanding why a standard cable does not work is the first step. A laptop’s video ports, like HDMI or USB-C, are built only for output. They send video signals from your laptop to an external monitor or TV.
They are not designed to receive video input from another computer or game console. This is a fundamental design choice in laptops to keep them compact and cost-effective.
The screen inside your laptop is a dedicated component. It is directly connected to the laptop’s motherboard with a special cable, often using a standard called LVDS.
This connection is not a standard video input like HDMI. It is a fixed, internal link. An external monitor has circuits that accept common video signals. A laptop screen lacks those circuits because it was never meant to be a separate unit.
This is why plugging an HDMI cable from your desktop PC into your laptop’s HDMI port will not work. The laptop port will not recognize the incoming signal. It only knows how to send signals out.
Software-Based Screen Sharing
The first practical method uses software to share screens over a network. This approach treats your laptop’s display as a wireless extension of another computer.
The core idea is to install a program on both devices. One device acts as the host, sending its screen. The laptop acts as the client, receiving and displaying that screen.
This creates a second monitor experience without any physical cables between the two machines. The connection happens through your local Wi-Fi network or sometimes a direct wireless link.
Built-in Wireless Display Features
Some modern laptops with Windows 10 or 11 have a feature called Wireless Display or Miracast. This allows them to act as a wireless receiver for another Windows PC.
You must enable this feature in the system settings. It is not available on all laptops and can be sensitive to network conditions. The performance is suitable for office work or browsing but often not for fast-moving video games.
Third-Party Applications
More reliable and common are dedicated third-party applications. Programs like Spacedesk, Duet Display, or Parsec create a virtual display driver on your main computer.
They stream the video and audio data to an app running on your laptop. Your laptop then shows that video stream in a window or full screen. These tools offer more control and sometimes better performance than built-in options.
Permanent Hardware Conversion
The second method is a physical modification project. It involves taking the screen out of an old or broken laptop and turning it into a standalone external monitor.
This is not about using the whole laptop as a monitor. It is about salvaging the LCD panel inside and giving it a new life. The core idea is to bypass the laptop’s original motherboard completely.
You use a special circuit board called an LCD controller board. This board acts as a translator. It takes standard video signals from an HDMI cable and converts them into the specific language that the laptop screen understands.
The Role of the Controller Board
Every laptop screen model has a unique connector and signal requirement. The controller board must match your exact screen model. You connect the screen’s original cable to this board.
Then, you connect an HDMI cable from your computer or game console to the board. The board powers the screen and handles the video conversion. The result is a functional external monitor made from your old laptop panel.
Choosing Your Path: Software or Hardware
Deciding which method to use depends entirely on your goal, budget, and technical skill. This section helps you choose the right path without frustration.
Ask yourself what you really want. Do you need a temporary second screen for your desktop PC for a few hours? Or do you have an old laptop gathering dust that you want to permanently turn into a monitor for a Raspberry Pi or game console?
Evaluating Your Primary Goal
Software streaming is for temporary, flexible use. It is perfect if you occasionally need more screen space while working from home. Your laptop remains a fully functional laptop. You can stop the connection anytime.
Hardware conversion is a permanent repurposing project. It is ideal for an old laptop that no longer works or that you do not plan to use as a computer again. You are building a new monitor from its parts.
Critical Factors for Decision Making
Consider these key points before you start. Latency, or delay, is crucial for software methods. Wireless streaming introduces a small lag. This is fine for documents but problematic for fast-paced gaming or precise video editing.
Cost is another factor. Software solutions are often free or low-cost. Hardware conversion requires buying a controller board, a power supply, and possibly a stand. The total can be thirty to sixty dollars.
Technical comfort is vital. Software setup involves downloading and configuring programs. Hardware conversion requires careful disassembly of your laptop, handling delicate cables, and basic DIY skills. It is more involved and carries risk of damaging the screen.
Recommendation Scenarios
| Your Situation | Recommended Method | Key Reason |
|---|---|---|
| Need a temporary second screen for your Windows desktop. | Software (e.g., Spacedesk) | Quick setup, no cost, reversible. |
| Have a broken laptop with a good screen you want to reuse. | Hardware Conversion | Creates a permanent, independent monitor. |
| Want to play console games on a laptop screen. | Hardware Conversion | Provides direct HDMI input with no lag. |
| Need to extend display for office tasks occasionally. | Software (Windows Wireless Display) | Uses built-in features, simple. |
| Not comfortable with opening electronics. | Software Only | Avoids complex disassembly and soldering. |
How to Use a Laptop as a Monitor with Software
This section provides detailed steps for the software method. We will cover both the built-in Windows option and a popular third-party tool.
Using Windows Built-in Wireless Display
First, check if your laptop supports this feature. On your laptop, go to Settings, then System, and select Projecting to this PC. Ensure your laptop is updated to the latest Windows version.
Turn on the settings to allow projection. Choose available options like “Available everywhere” or “Every time a connection is requested”. This prepares your laptop to receive a screen.
On your main desktop PC, press the Windows Key + P. Select Connect to a wireless display. Your laptop should appear in the list of devices. Select it to start the connection.
Your laptop screen will now mirror or extend your desktop PC’s display. You can configure the display mode in the Windows display settings on your main PC.
Configuring a Third-Party Application
For a more robust connection, we will use Spacedesk as an example. It is free for basic use. First, on your main computer (the one whose screen you want to share), download and install the Spacedesk driver software from their official website.
This software acts as a server. Run the installation and follow the prompts. It may require a system restart. After installing, the Spacedesk server should run in the background.
Now, on your laptop (the one you want to use as a monitor), download and install the Spacedesk viewer application. This is the client software. Make sure both machines are connected to the same local Wi-Fi network.
Open the Spacedesk viewer on your laptop. It should automatically detect the main computer’s server. Click on the detected computer name to connect. Your laptop will now act as a second monitor.
You can then go to the display settings on your main PC to arrange the screens. Set the laptop display to extend or mirror your main desktop as needed.
Optimizing the Connection for Different Uses
For general office work, the default settings are usually fine. If you notice lag or stutter, reduce the display resolution on the laptop screen through the software settings. Lower resolution uses less data and streams smoother.
For watching videos, ensure both computers have a strong Wi-Fi signal. A wired Ethernet connection for the main PC can improve stability. Close other bandwidth-heavy applications on both devices.
Remember, gaming over software streaming is challenging. The delay might make action games unplayable. For gaming, the hardware method is vastly superior.
How to Convert a Laptop Screen into an External Monitor
This is a step-by-step guide for the hardware conversion project. It turns your laptop’s internal LCD panel into a standalone external monitor.
Sourcing the Correct LCD Controller Board
This is the most important step. You must identify your laptop screen’s exact model number. Power off the laptop, remove the battery, and open the bezel around the screen carefully.
On the back of the LCD panel, there will be a sticker with a model number. It often looks like “LP156WF6-SPB1” or similar. Write this number down precisely.
Search for this model number on websites like eBay or AliExpress, along with the term “LCD controller board” or “driver board”. Sellers list boards compatible with specific screen models.
Ensure the board listing says it supports your exact model. Most boards come as a kit with the necessary cables and sometimes a power adapter. Order the kit that matches your screen.
Disassembling the Laptop and Extracting the LCD Panel
Work on a clean, static-free surface. Use a set of small screwdrivers. Remove all screws from the laptop’s bottom case and the plastic bezel around the screen.
Gently pry the bezel off. It is usually clipped on. Be patient to avoid cracking the plastic. Once the bezel is off, you will see the LCD panel held by a few metal brackets.
Remove the screws from these brackets. Carefully lift the LCD panel out. It will still be connected by two thin cables: the LVDS cable for video and a smaller cable for the backlight.
Disconnect these cables from the laptop’s motherboard. They may have gentle locks or clips. The LVDS cable is wide and flat. The backlight cable is smaller. Now you have the free LCD panel.
The Hardware Conversion Reality Check
This section manages expectations. You are not creating a neat “laptop as a monitor.” You are building a bare LCD panel with circuit boards attached.
The controller board and power board will be exposed. You will need to build or buy a stand to hold the panel upright. The total cost, including board, power supply, and stand, can approach the price of a cheap new monitor.
The process requires careful handling. The LCD panel is very fragile. The cables are delicate. If you are not comfortable with electronics, this project may not be for you. The reward is a custom monitor from recycled parts.
Assembling and Testing the New Standalone Monitor
Connect the LVDS cable from your LCD panel to the controller board. Connect the backlight cable if required. Plug the power adapter into the controller board.
Now, connect an HDMI cable from your computer or game console to the HDMI port on the controller board. Plug the power adapter into a wall outlet.
The controller board should power on, and the LCD panel should light up. You should see the video from your connected device. Use the buttons on the controller board to adjust settings like brightness or contrast.
Finally, you need a stand. You can attach a VESA mount to the back of the LCD panel if it has screw holes. Or, you can build a simple stand from wood or plastic. Your new external monitor is ready for use.
Frequently Asked Questions
Can I use my laptop as a monitor for a PlayStation or Xbox?
Yes, but only through the hardware conversion method. You must convert the laptop screen into an external monitor with an HDMI input. Software methods will not work because game consoles cannot run the required streaming software.
Is there any laptop model that has a true video input port?
Extremely rare. Some very old or specialized industrial laptops may have composite or VGA input ports. No mainstream consumer laptop today has an HDMI input port. They only have HDMI output ports.
Does using software to turn my laptop into a monitor affect gaming performance?
Yes, it usually adds significant lag and can reduce frame rates. The video must be encoded, sent over Wi-Fi, and decoded. This delay makes real-time gaming difficult. For gaming, the hardware method is the only good choice.
Can I use this method to connect two laptops together?
Yes, with software. You can install the server software on one laptop and the viewer on the other. This lets one laptop use the other’s screen as a wireless display. Both laptops need to be on the same network.
What do I need to use my laptop as a monitor for a Raspberry Pi?
For a Raspberry Pi, the hardware conversion method is ideal. Convert the laptop screen into a monitor with HDMI input. Then connect the Raspberry Pi’s HDMI port to it. Software methods are possible but more complex to set up on the Pi.
Is a video capture card the same as a USB adapter?
No, they serve different purposes. A video capture card takes a video signal and inputs it into a computer as data, often for recording. It does not turn a laptop screen into a direct monitor. Some USB adapters claim to add video input, but they typically work as capture devices, not for real-time, lag-free display.
Will the laptop’s touchscreen work as a monitor for my PC?
If you use the hardware conversion method, the touch function will be lost. The controller board only handles video. For software methods, touch may work if the streaming software supports touch passthrough, but this is uncommon and laggy.
Can I close the laptop lid while using it as a monitor?
For software methods, closing the lid may put the laptop to sleep. You can change the power settings to “Do nothing” when the lid is closed. For the hardware method, you are only using the screen, so the laptop body is not involved.
Does my laptop need a dedicated GPU to be used as a monitor via software?
No, a dedicated GPU is not required. The software uses the CPU and integrated graphics for encoding and decoding. However, a more powerful computer will provide a smoother streaming experience.
Are there wireless methods that don’t need third-party software?
Yes, if both devices support Miracast, you can use the built-in Windows Wireless Display feature without extra software. However, this support is not universal, and third-party software often offers better performance and reliability.
Learning how to use a laptop as a monitor requires moving beyond the simple cable idea. The software path offers a flexible, temporary solution for extending your desktop. The hardware path is a rewarding project to give an old laptop screen a new purpose. Your choice depends on whether you seek convenience or a permanent DIY monitor. With the steps above, you can now make an informed decision and proceed with the method that best fits your needs.