You press the power button, the lights come on, and you might even hear the fan. But your laptop screen stays completely black. It’s a moment of pure frustration, mixing confusion with a rush of worry about lost work or a costly repair. This problem is incredibly common, and the good news is that it’s often solvable with a calm, systematic approach.
Randomly trying fixes from the internet can waste time and increase stress. Instead, this guide will walk you through the exact diagnostic logic a technician would use. We’ll start with the one critical test that tells you where the problem is, then move step-by-step from simple universal fixes to more targeted solutions for your specific situation.
The Critical First Test: Connect an External Monitor
Before you try anything else, this single action splits your problem into two clear paths. Its entire purpose is to answer one question: Is the issue with your laptop’s internal screen, or is it something deeper within the laptop’s graphics system?
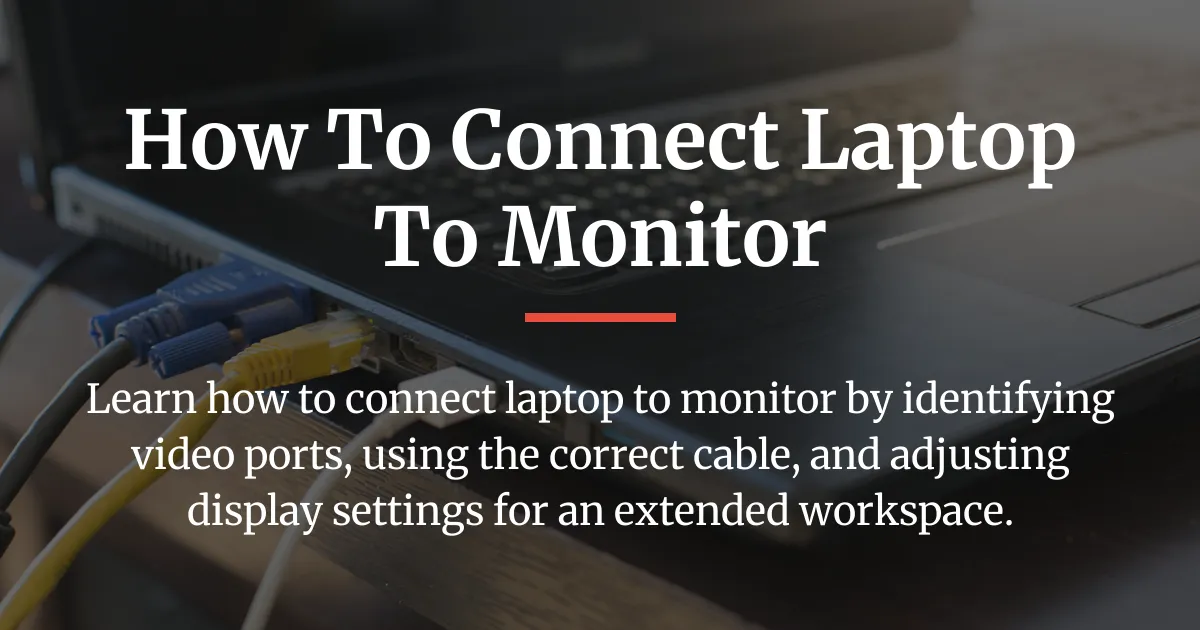
Grab any external monitor or even a modern television. Connect it to your laptop using an HDMI, DisplayPort, or USB-C cable. Make sure the external monitor is turned on and set to the correct input source, just like you would when connecting a game console.
Now, without being able to see your laptop screen, press the Windows key and the letter P on your keyboard once. Wait a second, then press the down arrow key once, and press Enter. This sequence forces your laptop to switch its display output to the external monitor. If you see an image on the external screen, you have successfully isolated the problem. If the external monitor also shows “No Signal” or stays black, the issue is different.
What Your Test Result Means
The result of this test dictates every step that follows. It prevents you from wasting time on fixes that cannot possibly work for your specific problem.
Path A: The External Monitor Works
This is great news. It means your laptop’s core system—the processor, graphics, and operating system—is functioning. The problem is isolated to the physical laptop screen, its connecting cable inside the laptop, or the software settings controlling that specific display. Your troubleshooting is now focused and much simpler.
Path B: No Display Shows on Any Monitor
If the external monitor remains blank, the issue is systemic. The problem lies with the laptop’s graphics output, its core settings, a driver failure, or a more serious hardware fault. This path requires a different set of tools focused on software recovery and system-level resets.
Universal First Steps for Any Scenario
Regardless of which path you are on, these actions are so simple and risk-free that you should always do them first. They resolve a surprising number of issues caused by temporary glitches.
Perform a forced power cycle by holding down the laptop’s power button for a full 15 to 30 seconds. This drains all residual power and can clear stuck hardware states that a normal shutdown does not touch. After releasing the button, plug in your power adapter and turn the laptop on normally.
While you do this, listen and look carefully. Do the keyboard’s caps lock or num lock lights turn on and off when you press them? Can you hear the hard drive spinning or the fan changing speed after a minute? These are signs that Windows is actually booting up in the background, which is a crucial clue.
Remove every single thing plugged into your laptop. This includes USB drives, printers, docking stations, and especially USB-C or Thunderbolt hubs. A faulty peripheral or a confused hub can sometimes block the main display from initializing correctly.
Systematic Guide to Fix No Display on Laptop Monitor but the Power is On
Now, based on your external monitor test, follow the dedicated path below. This logical progression moves from software fixes and simple resets to more involved hardware checks, ensuring you don’t skip a step that could be the solution.
If Your External Monitor Worked (Path A)
Since your laptop works on an external screen, the goal is to get it to recognize or reactivate the built-in display. Start with the easiest software overrides before considering internal hardware.
Forcing Your Laptop to See Its Own Screen
Your laptop might think its internal display is disconnected. You can try to force it back on from the external monitor. With the external display working, right-click on the desktop and select “Display settings.” Here, you should see two displays represented. If you only see one, click “Detect.”
Once both displays appear, scroll down to the “Multiple displays” section. From the drop-down menu, try selecting “Duplicate these displays” or “Extend these displays.” Sometimes simply toggling this setting can wake up the internal screen. Also, ensure the internal display is not set to an extremely low brightness level in the Windows settings.
Diagnosing a Dark Screen with a Working Backlight
A common and often misunderstood issue is a failed screen backlight. The display is actually showing an image, but the light behind it is off, making it look completely black. To check this, shine a bright flashlight at an angle onto the black laptop screen in a dark room.
Look very carefully for faint images, your mouse cursor, or the Windows login box. If you can see a ghostly image with the flashlight, your screen’s hardware is mostly fine, but the backlight or its power circuit has failed. This is a specific repair but confirms the display itself isn’t dead.
The Internal Hardware Checklist
If software fixes don’t work, the issue is likely a loose connection or a component that needs a deep reset. Before opening your laptop, try an Embedded Controller reset. This is different from a normal power cycle and fixes many weird laptop issues.
Turn the laptop off and unplug it. Hold the power button down for a full 60 seconds. After this, plug the power adapter back in without pressing the power button. Sometimes the laptop will turn on by itself; if not, press the power button normally to start it.
If the problem persists, the internal display cable might be loose. This thin cable connects the screen to the motherboard and can become partially disconnected if the laptop was dropped or even just from repeated opening and closing over years.
Checking this requires opening the laptop’s bottom panel and sometimes the bezel around the screen. This step voids most warranties and requires precision. If you are not comfortable, this is the point to seek a professional. If you proceed, use a guide for your exact laptop model, ground yourself to avoid static electricity, and gently reseat the connections at both ends of the display cable.
If No Display Showed on Any Monitor (Path B)
A blank screen on all displays points to a problem with the graphics system itself. Your goal is to access recovery options to fix software corruption.
Booting into Safe Mode
Safe Mode loads Windows with only the most basic drivers. If a corrupted display driver is the cause, your screen may work in Safe Mode, allowing you to fix it. To get there blind, turn the laptop on and wait about a minute for it to fully boot into the black screen.
Then, hold the power button until it forces off. Do this exact process three times. On the fourth start, Windows should automatically launch the Advanced Startup Options menu. From here, you can navigate to Safe Mode. Use the arrow keys to select “Troubleshoot” > “Advanced options” > “Startup Settings” > “Restart.” After the restart, press the number 4 or F4 key to enable Safe Mode.
Using Advanced Startup to Fix Corrupt Systems
If you can get to the Advanced Startup Options menu, you have powerful repair tools. “Startup Repair” can automatically fix common boot issues. “System Restore” can roll your computer back to a point before the problem started, which is very effective if the issue began after a Windows update or software installation.
If you can see the display in Safe Mode, the culprit is almost certainly a driver or software conflict. Open the Device Manager, expand “Display adapters,” right-click on your graphics card, and select “Properties.” Go to the “Driver” tab and try “Roll Back Driver” if the option is available. If not, select “Update Driver” and choose “Browse my computer for drivers” to reinstall the driver software.
Graphics Driver and BIOS Considerations
A completely failed or interrupted BIOS update can also cause a permanent black screen on startup. If you attempted a BIOS update just before this problem began, it may require a specific recovery procedure outlined in your laptop’s manual, often involving a USB drive.
For less severe cases, resetting the BIOS settings can help. This sometimes requires opening the laptop to disconnect the main battery and the small CMOS battery on the motherboard for a few minutes, which resets all hardware settings to factory defaults.
When to Seek Professional Repair
It is important to recognize when a problem is beyond DIY fixes. If you have meticulously followed all the software recovery steps and hardware resets with no change, the issue is likely a serious hardware failure.
Clear signs include visible physical damage to the screen, like cracks or deep impact points, or a distinct smell of burning electronics. Another sign is if the laptop worked perfectly until a specific moment of impact or a spill.
Consider the age and value of your laptop. For an older model, the cost of replacing a motherboard or a high-end screen may approach or exceed the value of the laptop itself. In such cases, using it with an external monitor as a desktop replacement or investing in a new laptop might be the more practical choice.
After the Fix: Preventing Future Display Problems
Once your display is working again, a few simple habits can help prevent a recurrence. Adjust your Windows Update settings to pause updates or at least give you control over when driver updates are installed, as these are a common trigger.
Review your power and sleep settings. Change what happens when you close the lid to either “Do nothing” or “Sleep” instead of “Turn off the display,” as the latter can sometimes cause the display not to wake up properly.
Be mindful when plugging in USB-C accessories. If you use a hub or adapter for an external monitor, ensure it is from a reputable brand. A faulty adapter can send incorrect signals that confuse your laptop’s display system. Always plug and unplug these devices while the laptop is on to ensure proper detection.
Frequently Asked Questions
Can a dead laptop battery cause no display on the monitor?
Yes, but usually indirectly. A completely dead battery won’t let the laptop turn on at all. However, a failing battery or power circuit can cause inconsistent power to the graphics system or screen, leading to a black screen even if some lights are on. Always troubleshoot while plugged into the wall power adapter.
Why would my laptop screen work only at a certain angle?
This is a classic sign of a failing or partially disconnected internal display cable. As you move the screen, the damaged wires inside the cable make or break contact. This requires the internal cable to be reseated or replaced, which often means a professional repair.
Is it safe to keep using my laptop with an external monitor?
Yes, it is generally safe. If the external monitor works, it means the laptop’s core components are functional. Using it this way is a perfectly valid temporary or even permanent solution if the cost of repairing the internal screen is too high.
Could a recent Windows update cause this?
Absolutely. A corrupted or incompatible graphics driver installed via Windows Update is a very common cause of a black screen on startup. This is why booting into Safe Mode to roll back or reinstall the driver is such a critical step in the troubleshooting process.
What does it mean if I hear startup sounds but see a black screen?
This is a strong indicator that Windows is booting normally in the background. The issue is isolated to the display output or the software controlling it, not the entire operating system. Focus on the external monitor test and display driver fixes in Safe Mode.
How can I reset my display drivers if I can’t see the screen?
You can force a driver reset on startup. Start the laptop and, as soon as you think it has booted, press Ctrl + Shift + Windows Key + B. This keyboard shortcut resets your display driver and should make your screen flicker or come back if a driver crash was the issue.
Does connecting to a USB-C hub complicate troubleshooting?
It can, significantly. Many USB-C hubs handle power, data, and video. A faulty hub or one that doesn’t fully support your laptop’s standards can block the display signal. For pure troubleshooting, always connect your external monitor directly to the laptop’s own HDMI or USB-C port, bypassing any hub or dock.
My external monitor also shows “No Signal”—what does this confirm?
This confirms the problem is not with your laptop’s internal screen. The issue is with the laptop’s graphics processing unit, its drivers, or the system board. You must follow the “Path B” troubleshooting steps focused on software recovery and system-level resets.
What’s the difference between a black screen and a screen that’s off?
A screen that is “off” gets no power at all—it is completely blank and often the laptop’s power light is also off. A “black screen” in this context means the laptop has power, lights are on, but the display shows nothing, though it may still be receiving power and even displaying a faint image you can’t see.
Should I try opening my laptop to check the display cable myself?
Only if you are comfortable with technical disassembly and have found a reliable guide for your exact laptop model. It requires specific screwdrivers, care to avoid static damage, and gentleness with plastic clips. If your laptop is still under warranty, opening it will almost certainly void that coverage. For many people, this is the natural point to take it to a repair shop.
Facing a laptop with power but no display on the monitor can feel overwhelming, but as you’ve seen, a logical, step-by-step approach can almost always identify the cause. The key is to start with the external monitor test to split the problem into one of two manageable paths. From there, you move from simple universal resets to more specific software and hardware checks, eliminating possibilities one by one.
This methodical diagnosis not only saves you time and money but also gives you a clear understanding of what went wrong and how it was fixed. Whether the solution was a quick driver rollback or pointed you toward a professional repair, you are now in control. With your display working again and a few preventative settings adjusted, you can get back to using your laptop with confidence.