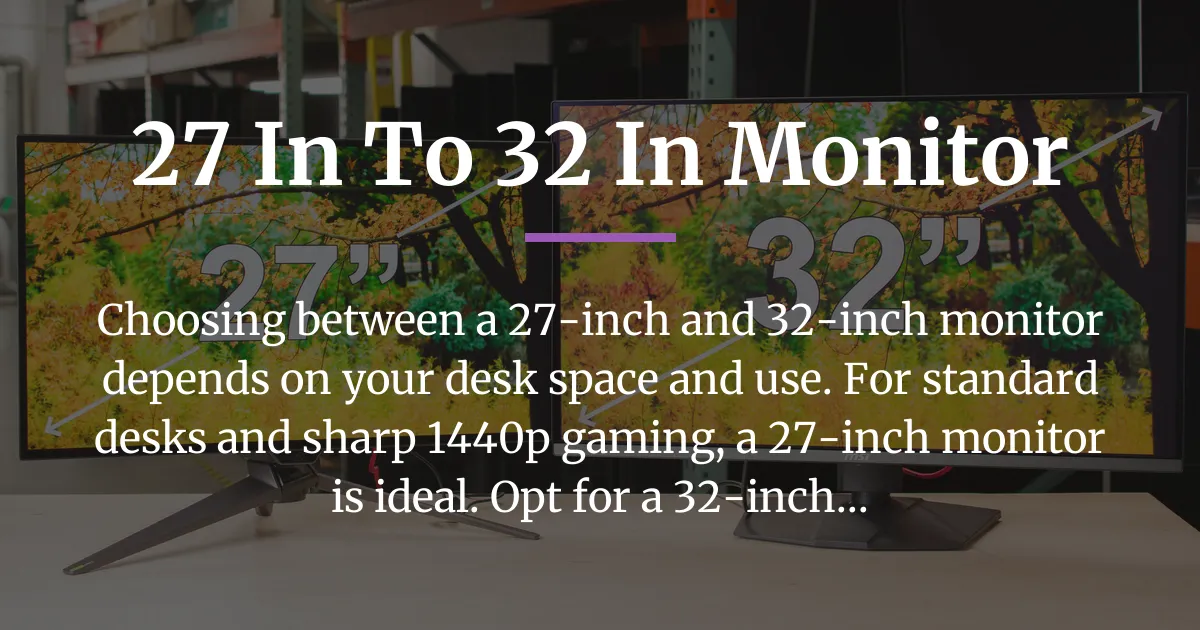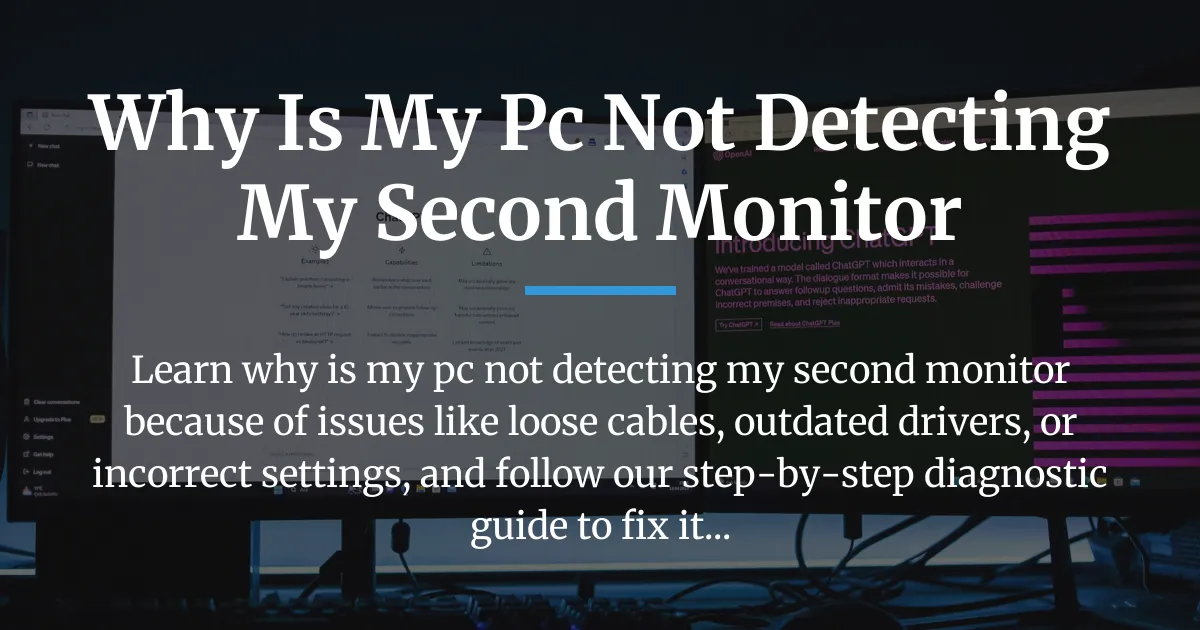
You sit down to work or play, ready to spread across two screens, but only one lights up. The frustration is immediate: why is my pc not detecting my second monitor? This isn’t just a minor annoyance; it breaks your workflow and leaves you searching for answers. The good news is that this problem, while common, usually has a logical cause. This guide will walk you through a systematic diagnosis, from the simplest checks to advanced fixes, ensuring you get both monitors running smoothly again.
Why Is My PC Not Detecting My Second Monitor: Quick Diagnostic Checklist
When faced with a missing second monitor, it’s easy to jump to worst-case scenarios. However, most problems are simple and can be fixed in minutes. This checklist is designed to address the most common causes first, saving you time and frustration. Always perform these steps in the order given, as each one builds on the previous.
The first step is to verify the monitor’s power and input source. It sounds obvious, but many users overlook this. Ensure the monitor is plugged into a working power outlet and the power button is on. Look for a power indicator light. Then, press the input or source button on the monitor itself. Monitors often have multiple inputs like HDMI 1, HDMI 2, DisplayPort, or VGA. If the monitor is set to the wrong input, it won’t display anything, even if the signal is perfect. Cycle through all inputs to see if one works.
The second step is to reseat all cables. Over time, cables can become slightly loose due to movement or vibration. Power off your computer and monitor to avoid any electrical damage. Then, disconnect the video cable from both the graphics card port on your PC and the input port on the monitor. Inspect the connectors for any visible damage or debris. Reconnect them firmly, ensuring they click into place if they have locking mechanisms. This simple action can restore a connection that was barely broken.
The third step is to use the Windows detection shortcut. Press the Windows key and the P key simultaneously. This brings up a sidebar with four options: PC screen only, Duplicate, Extend, and Second screen only. If it’s set to “PC screen only,” your second monitor will be disabled. Select “Extend” to use both monitors independently. Sometimes, toggling through these options can trigger Windows to detect the monitor. Also, right-click on the desktop and select “Display settings” to click the “Detect” button there.
After these steps, if your second monitor still isn’t detected, proceed to the more detailed sections below. But statistically, these three fixes resolve a majority of cases, so don’t skip them.
Understanding the Display Signal Path
The video signal from your PC to your monitor follows a precise path, and a failure at any point causes detection issues. Understanding this path helps you troubleshoot logically instead of randomly trying fixes.
The Graphics Processing Unit
Your GPU is the source of the video signal. It can be integrated into your computer’s processor, like Intel HD Graphics or AMD APU, or a separate card from NVIDIA or AMD. Each GPU has a maximum number of displays it can support, which depends on the model and ports. For example, a modern GPU might support up to four monitors via a combination of HDMI, DisplayPort, and DVI ports.
The GPU’s drivers play a critical role in managing these displays. If the drivers are outdated, corrupted, or conflicting, the GPU might not send signals properly. Additionally, the GPU must be correctly seated in its PCIe slot on the motherboard and receive adequate power from the power supply unit.
The Cable and Connectors
The cable carries the digital signal from the GPU to the monitor. Not all cables are created equal. They must match the standards required for your display’s resolution and refresh rate. For instance, HDMI 2.0 supports 4K at 60Hz, while HDMI 1.4 only supports 4K at 30Hz. Using an older cable can result in no signal or limited functionality.
DisplayPort cables have similar version differences. DisplayPort 1.2 supports 4K at 60Hz, and DisplayPort 1.4 supports 8K. Also, some cables are directional, especially those with active components for longer runs. Always use certified cables from reputable brands to ensure quality.
Connectors can wear out or get damaged. Bent pins in HDMI or DisplayPort connectors can break the connection. Gold-plated connectors resist corrosion better. When connecting, ensure the cable is fully inserted; some ports have latches that need to be engaged.
The Monitor Hardware
The monitor receives the signal and displays it. It must be powered on and set to the correct input source. Modern monitors often have auto-detect features, but they can fail. Manually selecting the input is more reliable.
Monitors also have their own firmware and settings. Some monitors have energy-saving modes that turn off the display when no signal is detected, which can confuse the PC. Check the monitor’s on-screen display settings for options like “Input Auto Switch” or “Deep Sleep” and disable them if necessary.
Additionally, monitors can fail internally. The backlight might work, but the video processing board could be defective. If the monitor shows a “No Signal” message or enters power-saving mode quickly, it might not be receiving a valid signal.
Isolating the Problem with a Hardware Swap Test
This test is crucial for pinpointing whether the issue is with your PC, the cable, or the monitor. It involves swapping components to observe where the problem moves.
Start by taking the cable from your working main monitor and connecting it to the second monitor. Use the same port on your PC. If the second monitor works now, then the original cable or the monitor’s input port might be faulty. If it still doesn’t work, the issue could be with the second monitor itself.
Next, take the cable from the second monitor and connect it to your main monitor, using the same PC port. If the main monitor fails, then the cable is likely bad. If it works, then the problem is with the second monitor or its settings.
Finally, try the second monitor with a different known-good cable and a different port on your PC. If it works, then the original port or cable was the issue. This systematic approach eliminates guesswork.
Software and Configuration Fixes
When hardware tests indicate the PC is the problem, software issues are the next likely culprit. Windows operating system and graphics drivers have complex interactions that can break monitor detection.
Windows Display Settings Deep Dive
Windows 10 and 11 have built-in tools for managing displays. To access them, right-click on the desktop and select “Display settings.” Here, you’ll see a diagram of your monitors. If the second monitor isn’t shown, click the “Detect” button. Windows will send a signal to all video outputs to find connected displays.
Below the diagram, scroll to “Multiple displays.” The drop-down menu here controls how displays are used. Options include “Duplicate these displays” for mirroring, “Extend these displays” for separate workspaces, “Show only on 1” or “Show only on 2.” If set to show only on one, the other monitor will be blank. Change it to “Extend these displays” for typical multi-monitor use.
Further down, you can set the resolution, orientation, and scale for each monitor. Sometimes, an incompatible resolution or refresh rate can prevent detection. For example, if the second monitor supports only up to 1920×1080 at 60Hz, but Windows tries to output 4K at 144Hz, the monitor might not sync. Reset to a lower resolution and refresh rate, then gradually increase after detection.
Also, check the “Advanced display settings” link. Here, you can see the display adapter properties and monitor details. If the monitor is listed but not active, you might need to enable it. In some cases, Windows might identify the monitor as a generic PnP monitor instead of its actual model, which can cause driver issues.
Graphics Driver Control Panel
Your graphics card manufacturer provides a control panel with additional settings. For NVIDIA users, open the NVIDIA Control Panel from the desktop context menu or system tray. Navigate to “Set up multiple displays” under the Display section. You should see a list of detected displays. Check the box next to the undetected monitor to enable it.
In the “Change resolution” section, ensure the correct resolution and refresh rate are set for the second monitor. Also, under “3D Settings,” set “Preferred graphics processor” to your NVIDIA GPU if you have hybrid graphics.
For AMD users, open the Radeon Software. Go to the Display tab. Here, you can enable Eyefinity for multi-display setups or manually detect displays. There’s also an option to override detection and force enable a display if it’s not being picked up.
For Intel integrated graphics, right-click the desktop and select “Intel Graphics Settings.” Go to “Display” and then “Multiple Displays.” Ensure the second monitor is enabled and configured properly.
It’s essential to keep these drivers up to date. Visit the manufacturer’s website: NVIDIA, AMD, or Intel. Download the driver for your specific model and operating system. During installation, choose “Custom Install” and select “Clean Install” if available. This removes old settings and prevents conflicts.
Dealing with Windows Updates
Windows Update sometimes installs generic display drivers that overwrite manufacturer drivers. This can break features like multi-monitor support. To prevent this, you can pause driver updates.
Go to Settings > Windows Update > Advanced options > Optional updates. Here, you can turn off “Receive updates for other Microsoft products.” Additionally, you can use the Group Policy Editor or Registry Editor to disable driver updates, but for most users, manually installing drivers is sufficient.
If a Windows Update has already caused issues, roll back the driver. Open Device Manager by pressing Windows key + X and selecting it. Expand “Display adapters,” right-click your GPU, and choose “Properties.” Go to the Driver tab and click “Roll Back Driver.” If this button is grayed out, Windows doesn’t have a previous version stored.
For a thorough clean-up, use Display Driver Uninstaller. Download DDU from a trusted source, boot into Safe Mode, and run it to remove all graphics driver components. Then, install the fresh driver from the manufacturer. This is especially useful when switching GPU brands or after persistent problems.
Advanced Hardware Troubleshooting
If software fixes yield no results, the issue might be deeper in your system’s hardware or firmware. These steps require more caution but can resolve stubborn problems.
BIOS/UEFI Settings
The BIOS or UEFI firmware controls how your hardware initializes during boot. Incorrect settings here can disable display outputs. To enter BIOS/UEFI, restart your PC and press the key shown on screen, often F2, Del, or F12.
Once inside, look for sections like “Advanced,” “Peripherals,” or “Display.” Settings to check include “Primary Graphics Adapter” or “Init Display First.” If you have both integrated and discrete graphics, set this to “Auto” or “PCIe” for the dedicated GPU. Some systems have an option to enable multi-monitor support for the integrated GPU even when a discrete card is present; enable this if you’re using ports on the motherboard.
Also, look for “CSM” or Compatibility Support Module settings. If enabled, it can affect how newer graphics cards are detected. Try disabling CSM if your system supports UEFI boot. Save changes and exit; your PC will reboot.
Power Management
Power-saving features can interfere with display detection. Windows and the GPU can turn off outputs to save energy, but sometimes they don’t wake up properly.
In Windows, go to Control Panel > Power Options. Select your power plan and click “Change plan settings,” then “Change advanced power settings.” Expand “PCI Express” and set “Link State Power Management” to “Off.” This prevents the PCIe bus from reducing power to the graphics card.
Under “Display,” set “Turn off display after” to “Never” for testing. Also, in “Sleep,” set “Put the computer to sleep” to “Never” to avoid sleep-related issues.
In the graphics driver control panel, find power settings. For NVIDIA, go to “Manage 3D settings” and set “Power management mode” to “Prefer maximum performance.” For AMD, look for “Power Efficiency” or similar and disable it.
Docking Stations and KVMs
Docking stations and KVM switches add complexity to the signal path. They can cause handshake problems between the PC and monitor.
If you use a dock, try connecting the monitor directly to your PC’s video port. If it works, the dock is the issue. Update the dock’s firmware and drivers from the manufacturer’s website. Some docks require specific settings or active cables.
For KVM switches, ensure they support the resolution and refresh rate of your monitors. Some KVMs don’t handle high bandwidth signals well. Test without the KVM to see if detection improves.
USB-C docks are common for laptops. Verify that your laptop’s USB-C port supports DisplayPort Alt Mode or Thunderbolt for video output. Consult your laptop’s specifications. Also, use the official dock or certified third-party docks for compatibility.
Physical Port and GPU Health
Hardware failures are less common but possible. Inspect the video ports on your GPU and monitor for physical damage. Use a flashlight to look for bent pins, debris, or corrosion. Gently clean with isopropyl alcohol and a cotton swab if needed.
Try all available ports on your GPU. If one port doesn’t work but others do, that port might be defective. If all ports fail, consider the GPU itself. Symptoms of a failing GPU include visual artifacts, crashes during graphics-intensive tasks, or fans running at full speed.
Test the GPU in another PC if possible. Alternatively, if you have integrated graphics, remove the discrete GPU and connect your monitor to the motherboard port. If it works, the discrete GPU might be faulty.
Also, ensure your power supply unit is adequate for your GPU. A underpowered PSU can cause instability, including display issues. Check the GPU’s power requirements and compare with your PSU’s wattage and rails.
Prevention Tips
Preventing monitor detection problems is easier than fixing them. Adopt these habits to maintain a stable multi-monitor setup.
Invest in quality cables. Look for certifications like “DisplayPort Certified” or “HDMI Premium High Speed.” These cables are tested to meet standards and reduce signal issues. Avoid overly long cables unless they are active or fiber optic, as signal degradation occurs over distance.
Manage driver updates carefully. Before updating graphics drivers, create a system restore point. In Windows, type “create a restore point” in the search bar, select your system drive, and click “Create.” This allows you to revert if the new driver causes problems.
Use Display Driver Uninstaller for major driver changes. When switching from NVIDIA to AMD or vice versa, or after a problematic update, DDU ensures a clean slate. Run it in Safe Mode for best results.
Check for monitor firmware updates. Many users forget that monitors have updatable firmware. Visit the manufacturer’s support page, download any firmware updates, and follow instructions to update via USB or software.
Configure Windows Update to not update drivers. Go to Settings > Windows Update > Advanced options > Optional updates and turn off driver updates. Alternatively, use the “Show or hide updates” troubleshooter from Microsoft to block specific driver updates.
Keep your system cool and clean. Dust buildup can cause overheating, leading to hardware instability. Regularly clean your PC’s internals with compressed air. Ensure proper airflow around your GPU and monitors.
Document your setup. Note the cable types, ports used, and settings that work. If problems recur, you have a reference to quickly restore configuration.
Frequently Asked Questions
My second monitor worked yesterday but not today. What changed?
Sudden failures often trace back to automatic updates. Windows Update or graphics driver updates can install overnight, changing settings or introducing bugs. Check your update history and roll back drivers if needed. Also, consider recent software installations or changes to power settings that might affect displays.
My second monitor is detected but shows “No Signal.” What does this mean?
“No Signal” means the monitor is receiving power and is turned on, but it’s not getting a video signal from the PC. This points to the cable, ports, or input selection. Ensure the cable is securely connected, the monitor is set to the correct input, and try a different cable or port. The hardware swap test is ideal for this scenario.
Can a faulty motherboard or RAM cause monitor detection issues?
Yes, but it’s uncommon. If the motherboard’s PCIe slot is damaged or the RAM is faulty, system instability can lead to erratic display behavior. However, you would likely experience other problems like frequent crashes, boot failures, or memory errors. Use memory diagnostics tools and check motherboard health after ruling out all other causes.
Why does my second monitor disconnect when I play games or use heavy applications?
This could be due to power management or GPU overload. Under heavy load, the GPU might prioritize the primary display if it’s thermally throttled or underpowered. Ensure your GPU has adequate cooling and power supply. In graphics settings, set the power mode to “Prefer maximum performance” and disable any energy-saving features.
Can using different cable types affect detection?
Yes. Mixing cable types like HDMI and DisplayPort can work, but each cable must support the required bandwidth. Also, adapters can introduce compatibility issues. Use direct connections without adapters when possible, and ensure adapters are active if converting signals.
Solving the puzzle of why is my pc not detecting my second monitor requires patience and a methodical approach. Start with simple checks, move through software configurations, and then explore hardware possibilities. By understanding the signal path and following this comprehensive guide, you can restore your multi-monitor setup and prevent future issues. Remember, most problems are fixable with the right steps, so don’t lose hope—your productivity is worth the effort.